Wednesday, October 01, 2008

potato chips in the microwave?!?!


A couple of my favorite blogs posted last week about making your own potato chips...in the microwave? Wha? Redonkulous! I had to see for myself. I've never seen anything crisp come out of a microwave. So I got some taters and broke out my thumb-eater mandoline and got to experimenting.


I did the first batch on paper towels, not overlapping. I nuked them for 3 minutes on full power then 3 minutes on 1/2 power, then 1 minute on 1/2 power a couple times until they looked nicely browned. And guess what? They were crisp! Amazing. They were also stuck to the paper towel. Here are a couple video demonstrating the chips' crunch and stuck-ness:


For the second batch I put the potato slices straight on a plate, and seasoned them with smoked salt. Same cooking method. This time, they stuck to the plate. Also, it seemed I had put too much salt on them. It didn't seem like alot when I put it on, but the flavors must have intensified a lot in the microwave.
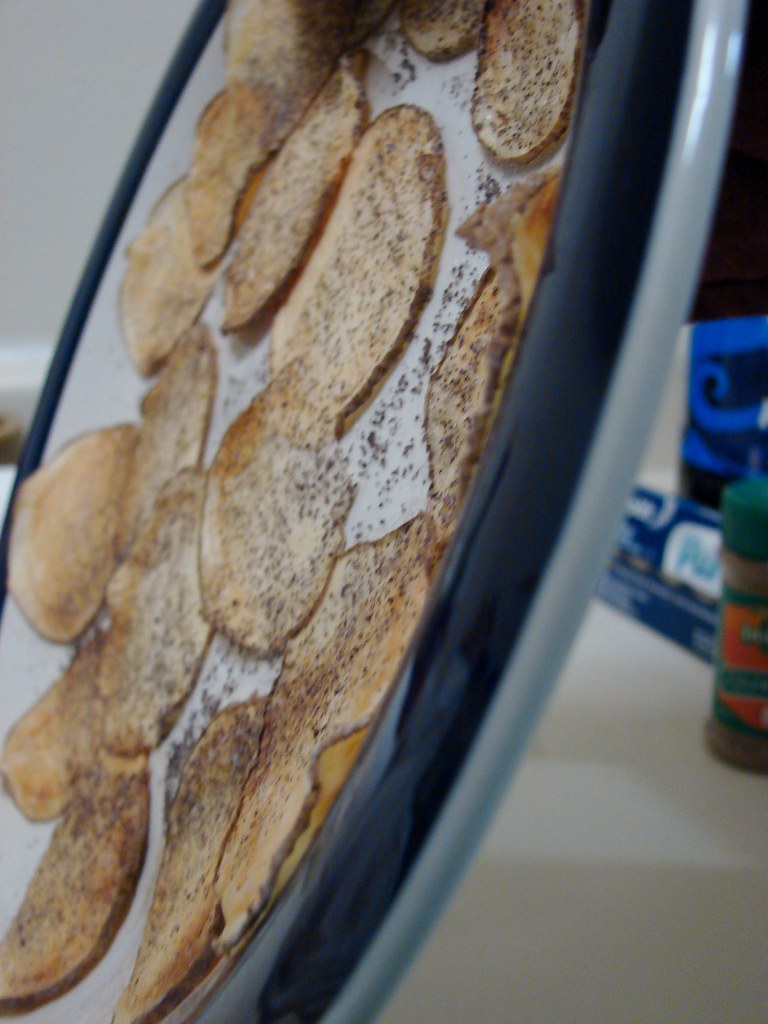

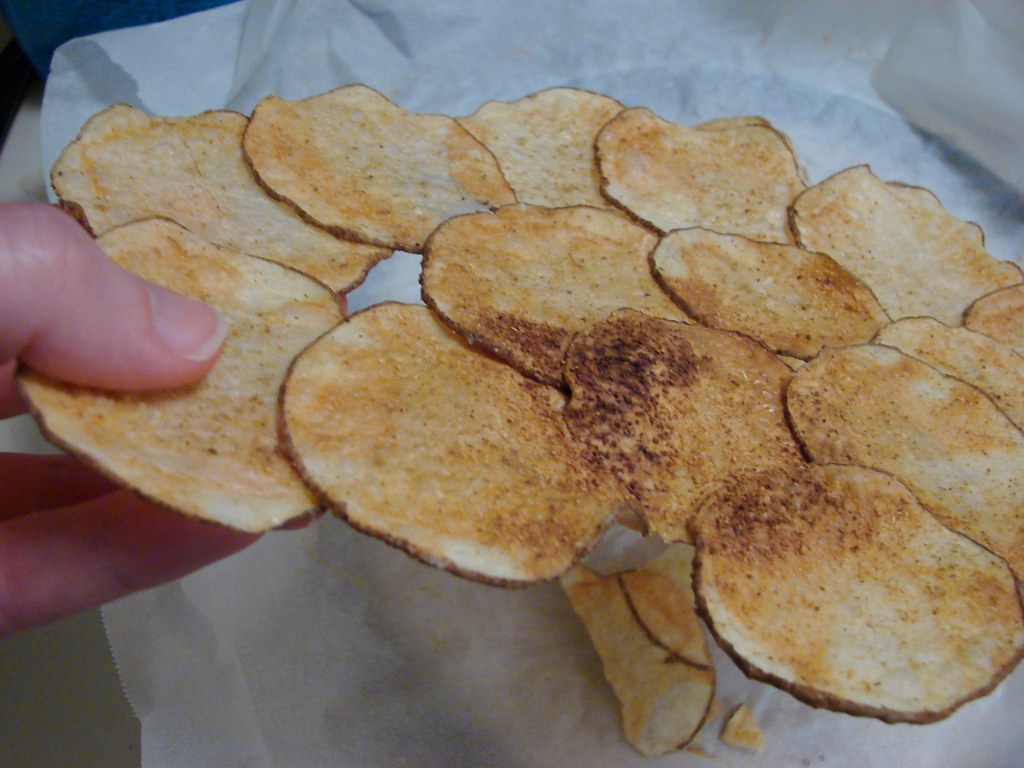
For the third batch, I seasoned the taters with celery salt and garlic powder. This time I put the slices on parchment paper laid directly on the microwave's turning plate. The didn't stick this time! Well, they stuck together, because I overlapped them. I also over seasoned them again. :(

Then I thought I would go the next step and try making sweet potato chips.


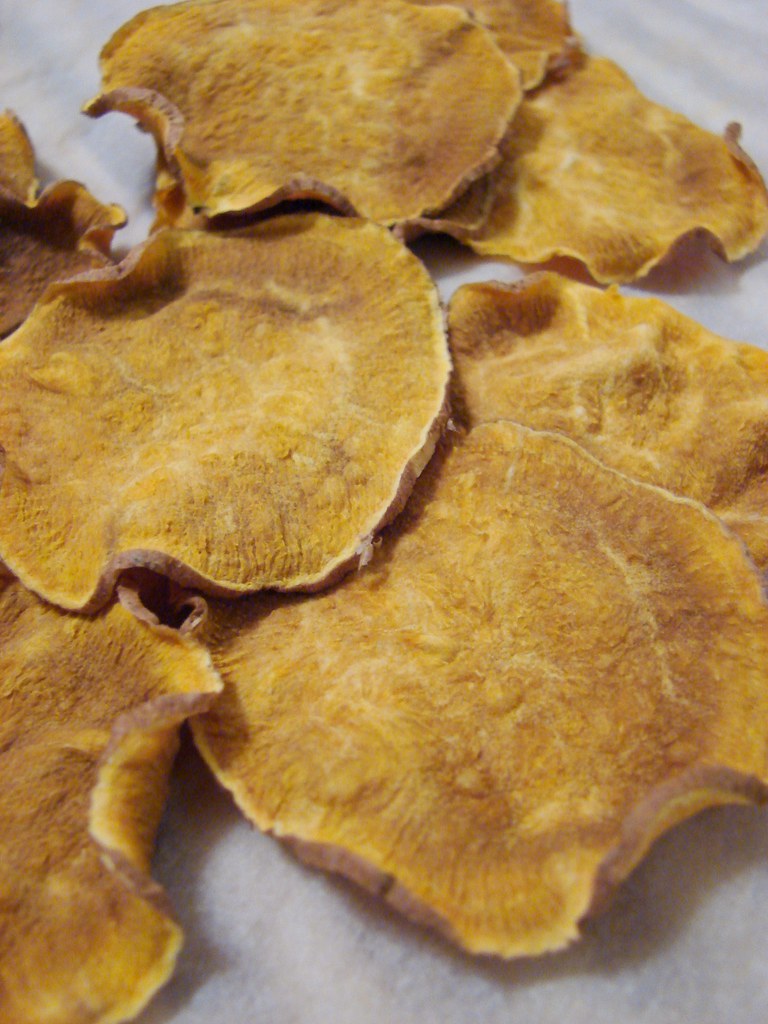
I love me some sweet potato chips, but I rarely find them for sale. Plus I never like how they are seasoned. Using the parchment paper trick again, I nuked the sweet potato slices. They took longer than the russet potato, but eventually they crisped up. I just kept adding 1-minute until they were done. You have to watch carefully, I think...I could see these getting burnt pretty fast. The sweet potatoes also shrunk more than the russet, and they didn't stick together. They were not as pretty as I'd hoped, as they got a strange gray color to them...Still tasty and crisp, though!

In conclusion:

• Microwave potato chips are the real deal!! Crisp and potatoey.

• It's very easy to over-season/salt. Be very careful.

• Parchment paper is the best vehicle for these chips.

• Do not overlap the russet potato slices, as they will stick together.

• Sweet potatoes work well. I can't wait to make some chipotle flavored ones. And perhaps curry! Oh, and sweet ones with cinnamon and sugar!

• Ahem. The possibilities are endless...

Monday, September 22, 2008

fettuccine with preserved tuna, capers and olives


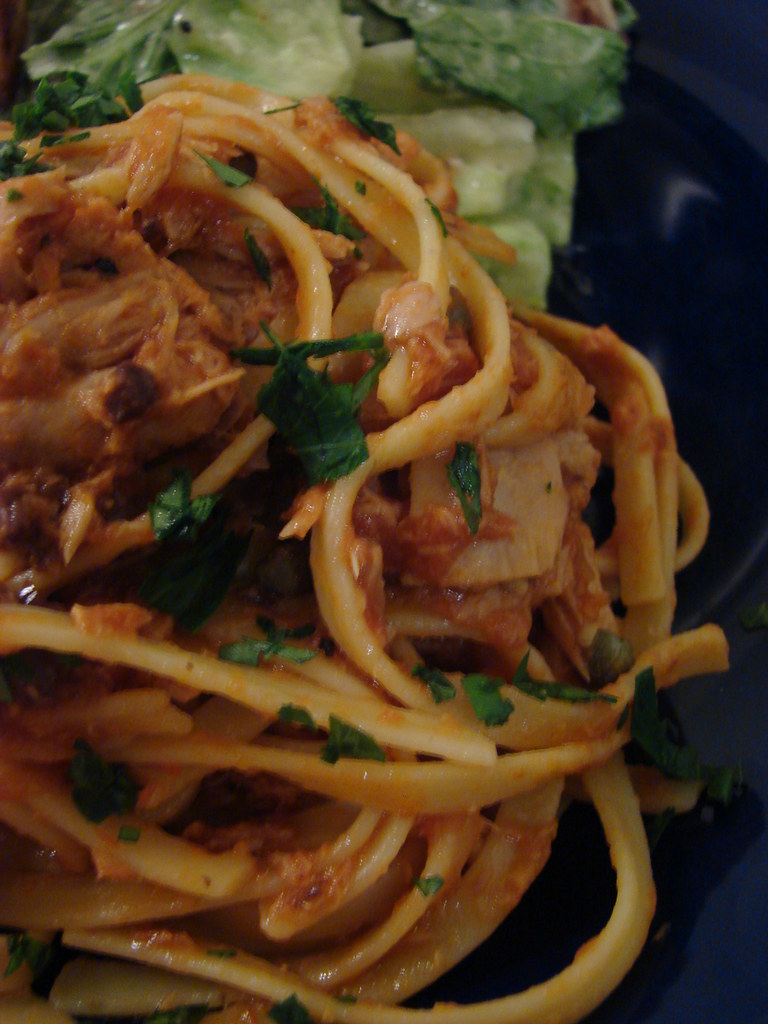
Another day, another library book to try out. This time a recipe from Simple Pleasures by Alfred Portale. It's a nice cookbook, to be sure...good photos, simple recipes using good but easy-to-find ingredients. The recipe I chose was fettuccine with preserved tuna, capers and olives. Preserved tuna? as in canned tuna? Heck yeah...cheap-ass dinners are always a plus. Hold up! He advises that we use high-quality tuna...like tuna we've preserved ourselves or the fancy imported from Italy stuff in olive oil. I had recently noticed some of this fancier, more expensive canned tuna at the grocery store. The recipe was the perfect opportunity to see why it cost more than double the good ol' chicken of the sea pantry classic (Is it chicken? Or is it fish?).

Okay, I'm a convert. The fancy-pants olive oil tuna was indeed a step above Charlie Tuna. Moist, good, mild flavor. It will probably be a new staple in the iron stef pantry. Alfred did not say whether or not to drain the olive oil before adding it to the pasta. So I drained some of the oil and left some in.


Though I was intrigued by this recipe and drawn to it, I was worried that all these strong flavors...tuna, anchovies, olives, capers...would be too much...too crazy...to strong.

In the end, the flavors all worked together. However, it was quite strong and rich. We could only eat a fraction of what we'd normally eat when we eat pasta. Which is not a bad thing...especially for my thighs. We also found, thanks to the abundant amount of leftovers, that this is much better eaten cold the next day, like a pasta salad, I suppose. That said, next time, I would use a pasta like penne or rigatoni, to make this more of a pasta salad. When it comes to pasta dishes, I like to either stab or twirl, not both. For long noodles that require twirling, I prefer a smooth sauce, no chunks. For chunky sauces, I like bite-sized pastas, so I can get everything in one fork jab.

Like I said, these flavors were strong, but they worked! Jack even combined the same ingredients a few nights later, sans pasta, to make a bruschetta topping. Yum! And now the recipe, slightly altered from the book's version...

fettuccine with preserved tuna, capers and olives

1 lb. dried fettuccine
¼ cup olive oil
3 cloves garlic, minced
6 anchovy fillets, rinsed, dried and minced
1 ½ cups canned tomato puree
2 Tablespoons capers
¼ cup kalamata olives, pitted and chopped
3 cans good quality tuna preserved in olive oil
Salt and pepper
Chopped flat-leaf parsley

Cook the pasta in salted boiling water until just al dente…about 7 minutes

Meanwhile, heat the oil in a wide, deep pan over medium. Add the garlic and cook until golden-brown, about 2 minutes. Add the anchovies and cook for 2 minutes more. Stir in the tomato puree and the capers.

Reserve ¼ cup of the pasta cooking water, then drain pasta. Stir the tuna and the olives into the sauce, then gradually stir in the pasta cooking water until the sauce attains a pleasing consistency. Add the hot pasta and toss. Season and toss again. Sprinkle with chopped parsley and serve.


Mmmm...notice the ceasar salad? Jack used the remainder of the anchovies and made the dressing from scratch! It's the only way to go!!