Tuesday, December 30, 2008

Taste & Create: Wonton Soup


Wow this month has been busy. I hope everyone had a great Holiday!! I sure did, and lookie here, I managed to just barely get in my submission for this month's Taste & Create event. This time I was paired up with Happy Cook of My Kitchen Treasures. I had one more vacation day yesterday, so I was able to choose a recipe that is more of a weekend day project, Wonton Soup! It's not a hard recipe, really, but making all the little wontons and making stock is not a weekday night kind of deal. However, the freezer is now stocked up with lots of delicious little chicken wontons and several tubs of chicken stock, a staple.

These wontons were sooo good. I followed Happy Cook's recipe pretty much word for word, except instead of bundle shapes, I made little hats, because when I tried the bundles, they seemed like they were going to tear. They have a nice healthy dose of ginger in them, so if you are a ginger fan like me, you will love these.


For the soup I used homemade stock, made from the bones of the chicken leg quarters I used for the stuffing of the wontons, and some backs and necks. I added garlic and salt and pepper and more soy sauce to my soup, but other than that it was Happy Cook's recipe. It's a lighter flavored soup that lets the wontons shine. Mine seemed a little oily...I think it's because I put too much skin in when I made the stock? Anyway...on to the recipes!!

Soup
1 to 2 Tbsp oil
1 onion chopped fine
1 small piece of ginger grated
3 garlic cloves, grated
2 to 3 chiles
about 6 cups chicken stock
2 tbsp soy sauce
salt and pepper

Heat the oil in a pan and fry the onions for a few minutes. Add the chiles, ginger, garlic and soy sauce and cook anther minute or so. Add the stock and Cook for 10 minutes. Taste and adjust seasonings. Ladle into bowls over cooked wontons. Serve hot. Garnish with green onions and cilantro.

Wontons
1 packet of store bought wonton wrappers
Meat from 4 chicken leg quarters (I bought the skin on, bone-in ones, and used the bones for my stock)
1 big piece of ginger, peeled and roughly chopped
2 cloves garlic
3 to 4 chiles or according to your taste
2 Tbsp of soy sauce or to your taste
4 Tbsp finley chopped spring onions
2 Tbsp cilantro leaves
1 Tbsp corn flour

Grind all ingredients together into a fine paste in a food processor.

Place a Tbsp of filling in the middle of each wrapper, brush the sides of the wrapper with water and press the corners together, then press the 4 seams together to form little hat-like shapes. Set aside however many wontons you want for your soup (I used 4 per bowl), then freeze the rest on cookie sheets for about an hour before transferring them to a large freezer bag. Heat water in a big pot with salt and a bit of oil and when the water is boiling add the prepared wontons and cook for few minutes, drain them and put them in bowls for soup.


Friday, December 19, 2008

blue cheese pecan bread and a salad with beets!


Last night was one of those perfect winter weeknights. It was freezing rain outside, and I was INSIDE baking, watching 30 Rock, sitting by the fire and sipping wine. What was I baking? Blue Cheese Pecan Bread! I saw this recipe on Leite's Culinaria (an exerpt from this book), and it was like fate since I had blue cheese and pecans already...on the same shelf in the fridge, no less! Plus, it's not a yeast bread, but it's not quite a quick bread. Yeast breads scare me a little, but I want to graduate from quick breads. This required some kneading and shaping, but no rising. rising is the scary part.


Blue Cheese Pecan Bread

4 cups unbleached all-purpose flour
1/2 cup sugar
1 1/2 teaspoons baking soda
1 1/2 teaspoons baking powder
1 teaspoon salt
4 tablespoons unsalted butter, cut in 1/2-inch pieces, chilled
2 ounces blue cheese, crumbled (1/2 cup)
1/4 cup chopped pecans
1 1/2 cups plus 1 tablespoon buttermilk
1 large egg, beaten
Freshly ground black pepper

1. Preheat the oven to 400°F (200°C).
2. In a large bowl, sift together the flour, sugar, baking soda, baking powder, and salt. Cut in the butter until the mixture looks like oatmeal. Add the cheese and nuts, and toss to distribute in the flour.
3. Make a well in the center and add 1 1/2 cups of the buttermilk and the egg. Stir with a sturdy spoon until you have a shaggy dough.
4. Tip the dough out onto a lightly floured work surface and knead gently to bring together. Form into a slightly flattened 6-inch round. Place on a parchment-lined baking sheet. Brush with the remaining 1 tablespoon buttermilk and sprinkle with pepper. With a serrated knife, cut a shallow X in the top of the loaf.
5. Bake for 10 minutes. Reduce the oven temperature to 375°F (190°C) and bake for 35 minutes, or until the loaf is deep golden brown and sounds hollow when thumped on the bottom. Cool on a wire rack


It took almost 15 minutes longer to bake than the recipe said...maybe I didn't flatten it enough or something. Anyway, It turned out good! The crust is very nice...I guess because of all the sugar in it...it was crumbly and sweet. The bread itself is a nice combo of tangy, sweet, salty and nutty. I spread some spun honey on it and had it with a colorful salad.

The salad? Well I was inspired by a salad I had at Pi, a pizza place here in the Lou. The salad had little matchsticks of raw beets on it. I had never had beets raw, and they are great this way...crunchy, sweet, earthy, RED. I used my mandoline to make the little matchsticks, and mixed them with balsamic vinegar, olive oil, some juice from a clementine, salt and pepper. I put this dressing/beet mixture on top of some greens along with radishes and clementine segments. A very nice winter salad, indeed. The wine I had with it was Columbia Crest Two Vines 10 White Wine- a blend which went really nicely with the bread. I am normally a red wine gal, but the recipe suggested having the bread with a white. This one is quite fruity and flavorful for a white. I am adding it to my list of "crowd-pleaser" wines.

Thursday, December 11, 2008

Cauliflower soup with bacon and blue cheese


For some reason I've had a hankering to make cauliflower soup lately. So the other night I did just that! It was easy, and very nice for a cold night. The soup itself is pretty simple flavor wise, but I pumped it up by topping it with some of cauliflowers' BFFs-bacon and blue cheese. If it was all for me, I would've put the blue cheese directly into the soup...it gave it a much needed tanginess. However, my mom was having some too, and she doesn't like blue cheese, so I had to settle with it as a topping. It looked pretty, anyway.


Cauliflower Soup with Bacon and Blue Cheese

3 strips of bacon
4 cloves garlic, minced
1 large shallot, sliced thin
1 large russet potato, peeled and cut into large chunks
1 head cauliflower, cut into florets/chunks
1 Tablespoon butter
4 cups chicken stock
about 1 teaspoon smoked paprika
about 1/4 teaspoon fresh grated nutmeg
salt and pepper
Blue cheese,crumbled

Cook bacon in a large pot or dutch oven until crispy. Remove bacon, crumble and set aside. Cook garlic and shallot in bacon grease until softened and slightly brown. Add in potato and cauliflower and season with paprika, nutmeg, salt and pepper. Suate all of this for a few minutes, adding the butter. Add in stock and cook at a low simmer for about 40 minutes until sauliflower and poatato are nice and soft. Taste and add more seasoning if needed. Use an immersion blender or a food processor (in batches!) to puree everything together. Serve topped with crumbled bacon, blue cheese and a sprinkle of smoked paprika.

Wednesday, December 03, 2008

what I made for thanksgiving


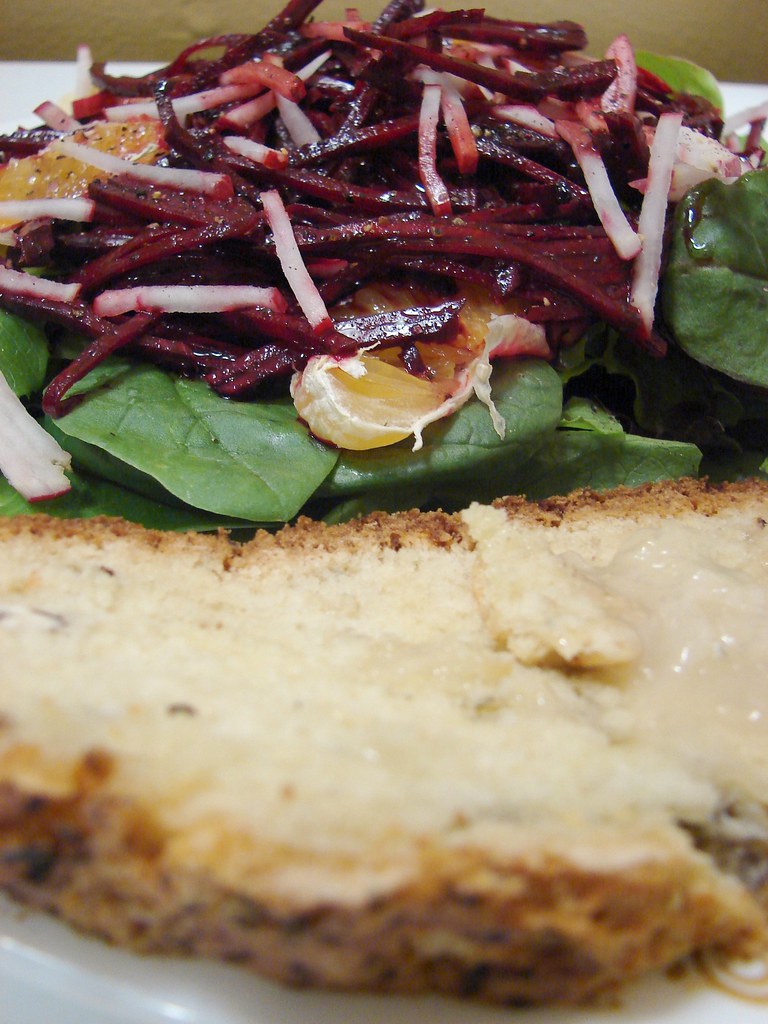
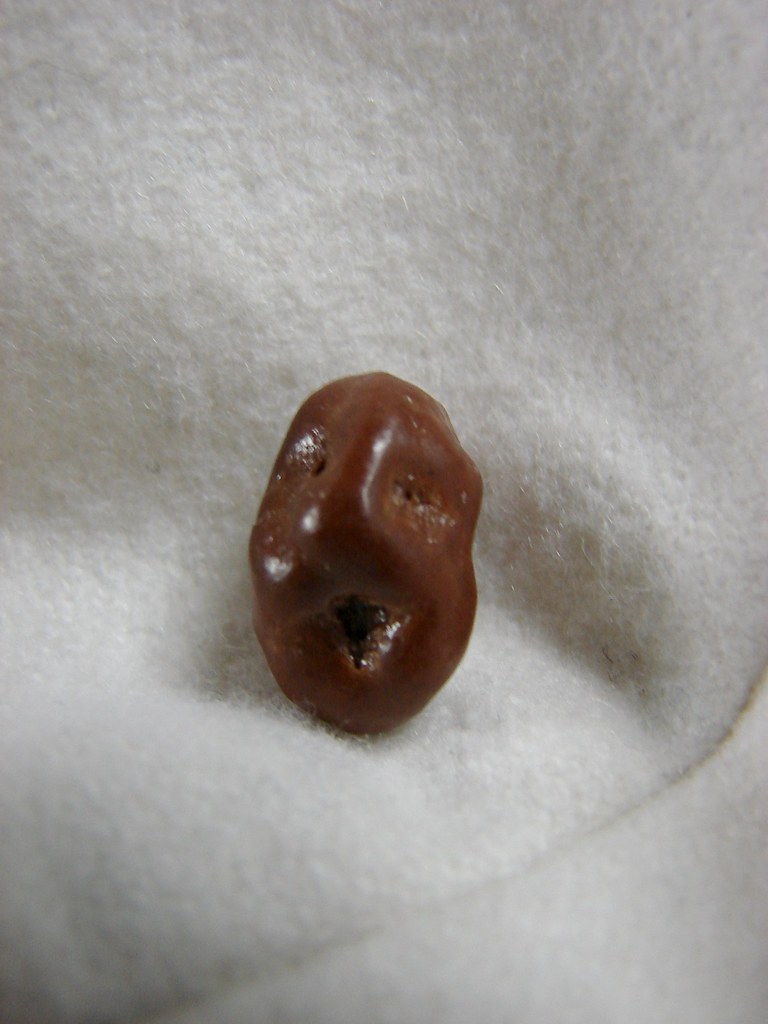
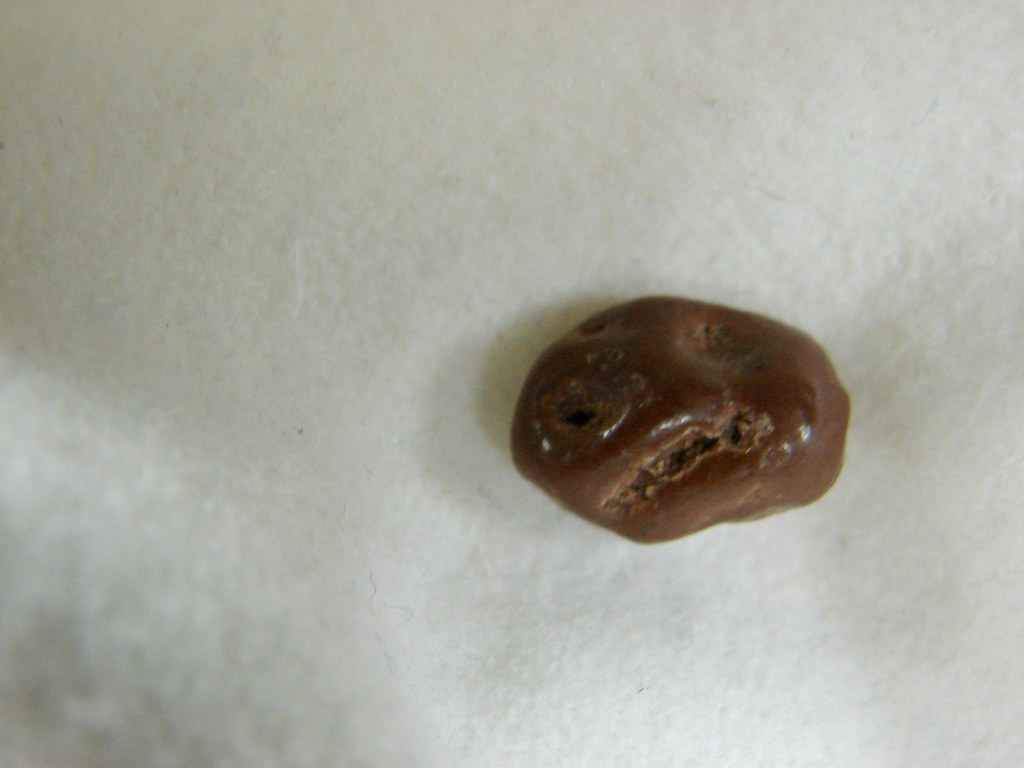
I spent this thanksgiving with a dozen or so family members at my grandma's house this year. I was to bring a side dish and a dessert. For a side dish, I decided to spring something new on the fam...Parsnips. I know parsnips are not new, but I never had them growing up and most of the people I know have never had them.

I only first had parsnips a couple of months ago at a vegetable cooking class I took through work. This recipe is from that class, taught by Schnucks Food Expert Kathy, with a couple modifications...for one, when I did a trial for my immediate family, my smart, handsome little brother suggested that I add some garlic. Also, the original used fresh sage sprinkled on at the end...I used dried sage which I added before cooking. I used my thumb eater mandoline to slice the pasrnips into thin ribbons.

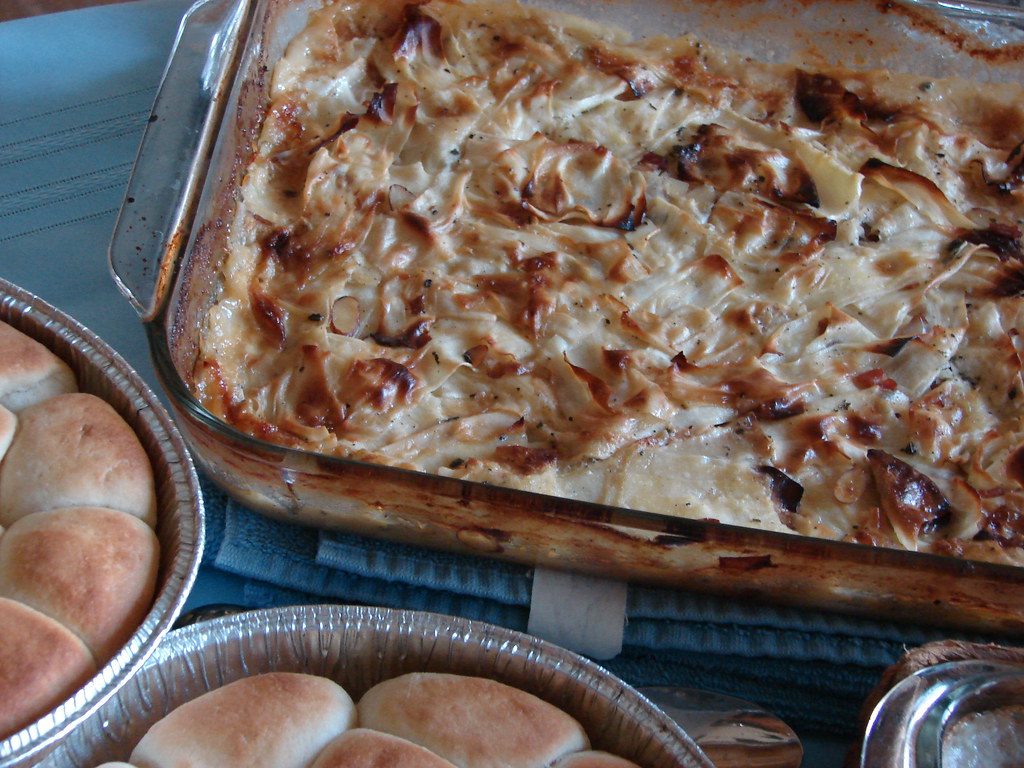
So how did my family react to this unfamiliar vegetable being thrust upon them? They loved it! Yay! I mean, there was bacon in it...and heavy cream...but wooo! I introduced people to a vegetable!

Parsnip Gratin with Sage

6 ounces bacon slices, chopped
2 cloves garlic, minced
2 pounds parsnips (about 11 medium), peeled, trimmed and thinly sliced lengthwise
¼ cup slivered almonds
2 cups whipping cream
1 cup chicken broth
1 tablesoon dried sage
1 ½ teaspoon kosher salt
1 teaspoon ground black pepper

Preheat oven to 400 degrees. Sauté bacon in heavy medium skillet over medium-high heat until golden brown about 6 minutes. Drain bacon on paper towels and set aside in a 9x13 baking dish. Using some of the remaining bacon grease, saute the garlic until it is slightly brown and soft; set aside in a medium bowl. Using hands, toss the pasrnips, bacon and almonds together in the baking dish and spread out in an even layer. Combine cream, broth, cooked garlic, sage, salt, and pepper in medium bowl. Pour over parsnip mixture.
Bake gratin 30 minutes. Press down on parsnips with spatula to moisten evenly. Continue baking until parsnips are tender and liquid bubbles thickly, about 35 minutes longer. Let stand 10 minutes before serving.


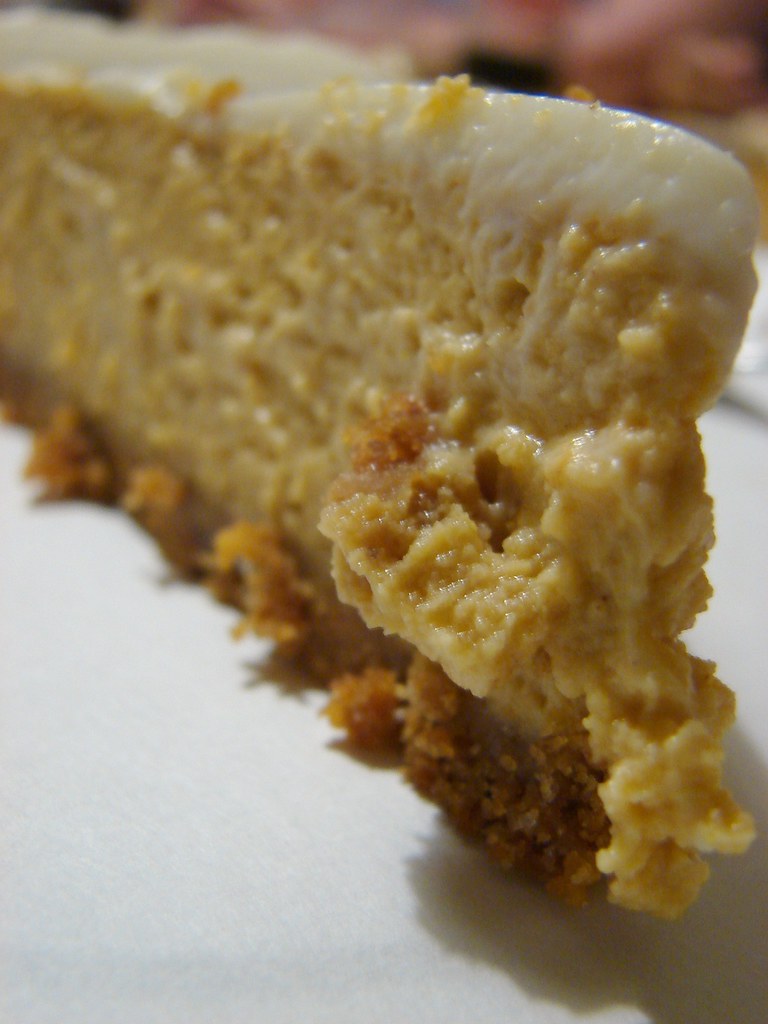
Dessert is something that was untested. I thought of it while shopping for the parsnip gratin ingredients. Pumpkin Cheesecake. Luckily I have a new handy-dandy iPhone, so I was able to google a recipe right there in the store. How did I ever live without this brilliant piece of technology?!?! Ahem. So, the first result when I looked up "Pumpkin Cheesecake" was this recipe on Joy of Baking's website. A trusty source, no doubt, so that's what I went with. Besides, it had the ginger-snap crust I had been envisioning in my head when I first got the idea.

Of course I didn't read the recipe completely to see that the cooled cheesecake was supposed to chill for AT LEAST 8 hours before serving. And here it was coming out of the oven at noon on Thanksgiving day. I R SMRT. Oh well...it chilled for a few hours anyway, and was perfectly fine when we dug in. I guess if it were properly chilled, it would have been firmer, but it was silky and yummy just the same.


Pumpkin Cheesecake

Crust:
1 cup (100 grams) graham cracker crumbs
1/2 cups (50 grams) finely ground ginger cookies, homemade or store bought
1 tablespoon (15 grams) granulated white sugar
4 - 5 tablespoons (56 - 60 grams) unsalted butter, melted

Cheesecake:
2/3 cup (145 grams) light brown sugar
1/2 teaspoon ground cinnamon
1/4 teaspoon ground ginger
1/8 teaspoon ground cloves
1/8 teaspoon ground nutmeg
1/4 teaspoon salt
1 pound (454 grams) cream cheese, room temperature
3 large eggs
1 teaspoon pure vanilla extract
1 cup pure pumpkin puree (canned or homemade)

Topping:
1 cup sour cream
1 teaspoon pure vanilla extract
1/4 cup (50 grams) granulated white sugar

Preheat oven to 350 degrees F (177degrees C) and place the oven rack in the center of the oven.  Butter (or spray with a non stick spray) an 8 inch (20 cm) spring form pan. 
For Crust:  In a medium sized bowl combine the graham cracker crumbs, finely ground ginger snap cookies, sugar, and melted butter.  Press the mixture onto the bottom of the prepared spring form pan.  Cover and refrigerate while you make the cheesecake filling.

For Cheesecake:  In a separate bowl, stir to combine the sugar, cinnamon, ginger, cloves, nutmeg, and salt.
In the bowl of your electric mixer (or with a hand mixer), on low speed, beat the cream cheese until smooth (about 2 minutes).  Gradually add the sugar mixture and beat until creamy and smooth (1 to 2 minutes).  Add the eggs, one at a time, beating well (about 30 seconds) after each addition.  Scrape down the sides of the bowl and beat in the vanilla extract and pumpkin puree.
Pour the filling over the chilled ginger crust and place the spring form pan on a baking sheet to catch any drips.  Place a cake pan, filled halfway with hot water, on the bottom shelf of your oven to moisten the air.  Bake the cheesecake for 30 minutes and then reduce the oven temperature to 325 degrees C (165 degrees C) and continue to bake the cheesecake for another 10 - 20 minutes, or until the edges of the cheesecake are puffed but the center is still wet and jiggles when you gently shake the pan. 

Meanwhile whisk together the sour cream, vanilla extract and sugar.  Pour the sour cream mixture over the top of the baked cheesecake and rotate the pan slightly to evenly distribute the topping.  Return the cheesecake to the oven and bake about 8 minutes to set the topping.  Remove from oven and place on a wire rack to cool.  Loosen the cake from the pan by running a sharp knife around the inside edge (this will help prevent the cake from cracking).  Then place a piece of aluminum foil over the top of the pan so the cheesecake will cool slowly.  When completely cooled, cover and refrigerate at least eight hours, preferably overnight, before serving. 

Monday, December 01, 2008